A good web design client onboarding process turns a signed deal into a smooth project instead of weeks of confusion, scope creep and late feedback. It takes about an hour to set up once, then you reuse it for every client.
This article gives you a complete 7-step onboarding process: what to send, what to ask, what to collect and how to kick off the build. Everything is ready to copy and adapt. If you're still working on winning the client first, start with how to find web design clients.
Why your onboarding process matters more than your design skills
Local business owners are not web experts. They judge your professionalism by how organized you are before the project even starts. A messy onboarding makes them anxious; a structured one makes them confident they picked the right person.
Onboarding also protects you. When you collect content, logins and decisions in one documented step, you avoid the classic problems: endless revisions, "I thought that was included" arguments, and projects that stall for months because a client never sent their photos.
Step 1: Send a welcome email within 24 hours
The moment a client says yes, send a short welcome email. It sets the tone and gives them everything in one place. Here's a template you can copy:
Subject: Welcome aboard — here's what happens next Hi [Name], Great to be working with you. Here's how we'll get started: 1. I'll send you a short questionnaire to gather the basics (5 minutes). 2. You share your content: logo, photos, text, social links. 3. I build a homepage preview for your approval. 4. Once approved, I build the full site. I'll check in every [Monday] with a quick progress update. Any questions before we start? Just reply to this email. [Your name]
Step 2: Sign the agreement and take the deposit
Never start work on a handshake. Your agreement doesn't need to be complicated. Cover these points:
- What's included: number of pages, revisions, and what counts as out of scope
- Timeline with clear milestones and who is responsible for delays
- Payment schedule: deposit upfront, balance at launch
- Who provides content, and what happens if the client is late
- What happens after launch: who owns the site, hosting and support terms
Not sure how to price the project before onboarding? Read how to price a website for a small business. For ongoing income after launch, plan your website maintenance packages now so you can mention them during onboarding.
Step 3: Collect everything with a client questionnaire
One of the biggest project killers is chasing clients for information in ten separate messages. Solve it with a single questionnaire. A ready-made list of questions is in our web design client questionnaire, but here are the essentials:
- What does your business do, in one sentence?
- Who is your ideal customer?
- What are the 3 main actions you want visitors to take (call, book, buy)?
- Which competitor websites do you like, and why?
- Do you have a logo, photos and text you own the rights to?
- List your services, prices and opening hours as they should appear on the site.
- Who is the final decision maker for approvals?
Ask for assets in the same message: logo files, photos, existing domain and hosting logins, social media links and Google Business access. Give a deadline, for example "send everything by Friday so we stay on schedule".
Step 4: Set expectations with a kickoff call
A 20-minute kickoff call prevents months of misunderstandings. Local clients especially appreciate putting a voice to the name. Use this simple agenda:
- Confirm goals: what should the website achieve?
- Walk through the questionnaire answers and flag anything unclear
- Agree on the timeline and key dates
- Explain how feedback works: one round of consolidated feedback per milestone, not daily emails
- Confirm who approves the final design
If you found this client through cold outreach, the kickoff call is also where the relationship shifts from selling to delivering. The scripts in cold calling for web design help you book that first conversation; this call is where you prove their trust was justified.
Step 5: Show a homepage preview before building everything
The cheapest place to fix a misunderstanding is before you've built the whole site. Show a homepage preview early and get written approval. The client sees the direction, you avoid building twelve pages on the wrong track.
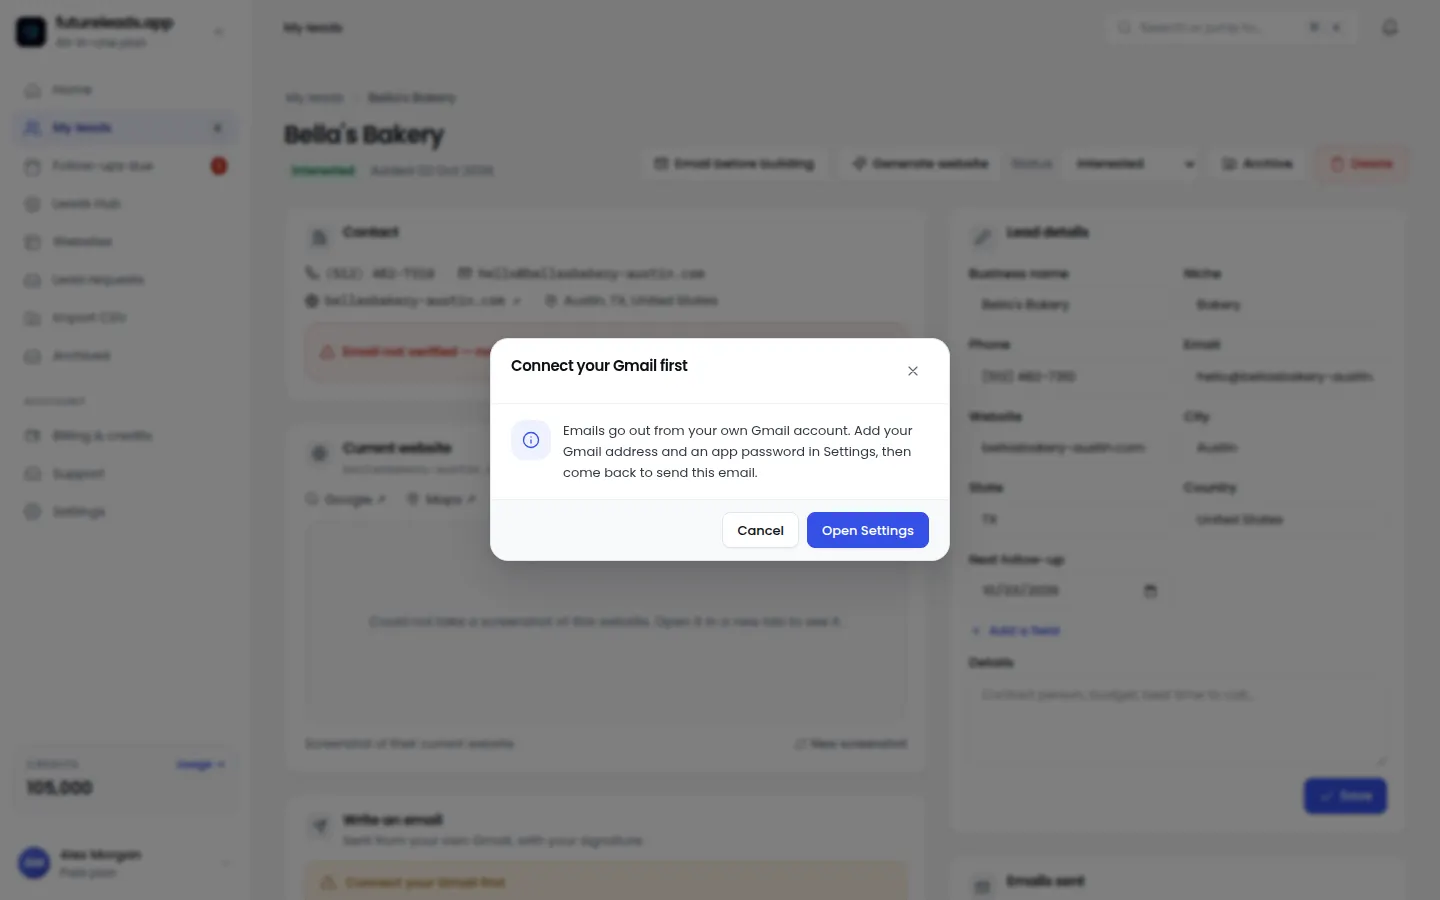
This is where Futureleads.app helps beyond lead generation: you can generate an AI website preview for the client's business in minutes and send them a link or QR code. Many designers use it before the sale too — showing a preview to a prospect who hasn't paid yet, which is a powerful way to close local deals.
Want previews like this for every prospect and client? Create a free Futureleads.app account (no card needed) and generate your first AI website preview today.
Find businesses that need a website — freeor claim up to 3,000 FREE credits with a paid planStep 6: Define the feedback and approval process
Feedback chaos is the number one timeline killer. Set the rules during onboarding, not after the first round of revisions. Put this in your welcome pack or agreement:
- Feedback happens at fixed milestones only (preview, full draft, pre-launch)
- All feedback comes in one document or one email, not scattered messages
- The designated decision maker approves each milestone in writing
- Two revision rounds are included; additional rounds are billed separately
For local clients, add one line that saves you headaches: "If we don't receive feedback within 5 business days, we'll consider that milestone approved and move forward." This keeps slow clients from freezing your schedule.
Step 7: Launch, train and hand over properly
Onboarding ends at launch, but a good handover sets up your website maintenance income. Before you hand over the keys:
- Test the site on mobile, check every form and every link
- Connect the domain, SSL and business email addresses
- Record a short video walkthrough showing how to request changes
- Send a final invoice with a clear breakdown
- Offer your maintenance or care plan as the natural next step
If you use the Futureleads.app client portal, this handover is even cleaner: the client logs in, sees their site, and any leads from their booking or quote forms arrive in one place. It's a white-label portal on paid plans, so it carries your branding, not ours.
Your complete onboarding checklist
Here's the whole process on one list. Copy it into your project tool and tick it off for every client:
- Welcome email sent within 24 hours of the yes
- Agreement signed and deposit paid
- Questionnaire sent with a deadline
- Content and access received and organized in folders
- Kickoff call completed
- Timeline confirmed in writing
- Homepage preview approved in writing
- Feedback rules explained and accepted
- Build completed and tested
- Training video recorded
- Final invoice sent and paid
- Maintenance plan offered
Onboarding mistakes to avoid
Even experienced freelancers fall into these traps. Watch out for:
- Starting the build before the deposit clears
- Accepting "I'll send content later" without a deadline — content delays are the top reason projects stall
- Letting multiple people at the client's business give feedback
- Skipping the kickoff call because the client "is too busy" — busy clients are exactly the ones who need clear structure
- Not documenting decisions: if it isn't written down, it didn't happen
And one more: don't onboard clients you never qualified properly. If your pipeline is thin, fix the front end first — finding local businesses without websites is a proven starting point, and Futureleads.app shows you exactly which businesses in your city need a site, with their contact details and the problems found.
FAQ
What is a web design client onboarding process? It's the structured steps between a client saying yes and the project starting: welcome email, agreement and deposit, questionnaire, content collection, kickoff call and preview approval.
How long should onboarding take? The client-facing part takes about a week: welcome email on day one, questionnaire by day two, kickoff call by day three or four, preview the following week. Most of your time is a one-time setup you reuse for every project.
Should I take a deposit before onboarding? Yes. Collect the deposit when the agreement is signed, before any work. It filters out non-serious clients and protects your schedule.
What if the client won't send content? Remind them twice with the deadline in writing, then follow the clause in your agreement: without content, the timeline shifts. Some designers offer to write placeholder copy for an extra fee to keep the project moving.
Do I need software to manage onboarding? Not necessarily, but a simple CRM with lead statuses, notes and follow-ups keeps every client's stage visible. Futureleads.app includes this, plus email campaigns and a dialer, so the same tool covers selling and delivering.
Ready to fill your pipeline so there's always a new client to onboard? Start a free Futureleads.app account (no card) and find local businesses that need your help today.
Find businesses that need a website — freeor claim up to 3,000 FREE credits with a paid planPick a package: every feature is included in each, paid plans add FREE bonus credits every month, or start free with no card.
Basic
$9.99/month
11,500 credits a month
+ 1,000 FREE credits
- About 261 done-for-you leads
- or 88 AI website previews
- All features included
Pro
$39/month
50,000 credits a month
+ 1,500 FREE credits
- About 1,136 done-for-you leads
- or 384 AI website previews
- All features included
Premium
$79/month
105,000 credits a month
+ 3,000 FREE credits
- About 2,386 done-for-you leads
- or 807 AI website previews
- All features included